Today’s developers swear by IDEs that best support their workflows. Jumping repeatedly between windows and apps is highly inconvenient, which makes these programs so valuable. By remaining within your IDE, it’s possible to get more done in less time.
Today, we’ll take a look at two leading IDEs — VS Code and IntelliJ IDEA — and how they can mesh with your favorite Docker tools. We’ll borrow a sample ASP.NET application and interact with it throughout this guide. We’ll show you why Docker integrations are so useful during this process.
The Case for Integration
When working with Docker images, you’ll often need to perform repetitive tasks like building, tagging, and pushing each image — after creating unique Dockerfiles and Compose files.
In a typical workflow, you’d create a Dockerfile and then build your image using the docker build CLI command. Then, you’d tag the image using the docker tag command and upload it to your remote registry with docker push. This process is required each time you update your application. Additionally, you’ll frequently need to inspect your running containers, volumes, and networks.
Before the Docker, Docker Explorer, and “Remote – Containers” plugins debuted, (to name a few), you’d have to switch between your IDE and Docker Desktop to perform tasks. Now, Docker Desktop IDE integration unlocks Desktop’s functionality without compromising productivity. The user experience is seamless.
Integrating your favorite IDE with Docker Desktop enables you to be more productive without leaving either app. These extensions let you create Dockerfiles and Compose files based on your entered source code — letting you view and manage containers directly from within your IDE.
Now, let’s explore how to install and leverage various Docker plugins within each of these IDEs.
Prerequisites
You’ll need to download and install the following before getting started:
- The latest version of Docker Desktop
- Visual Studio Code
- IntelliJ IDEA
- Our sample ASP.NET Core app
Before beginning either part of the tutorial, you’ll first need to download and install Docker Desktop. This grabs all Docker dependencies and places them onto your machine — for both the CLI and GUI. After installing Desktop, launch it before proceeding.
Next, pull the Docker image from the ASP.NET Core app using the Docker CLI command:
docker pull mcr.microsoft.com/dotnet/samples:aspnetapp
However, our example is applicable to any image. You can find a simple image on Docker Hub and grab it using the appropriate docker pull command.
Integrations with VS Code
Depending on which version you’re running (since you might’ve installed it prior), VS Code’s welcome screen will automatically prompt you to install recommended Docker plugins. This is very convenient for quickly getting up and running:
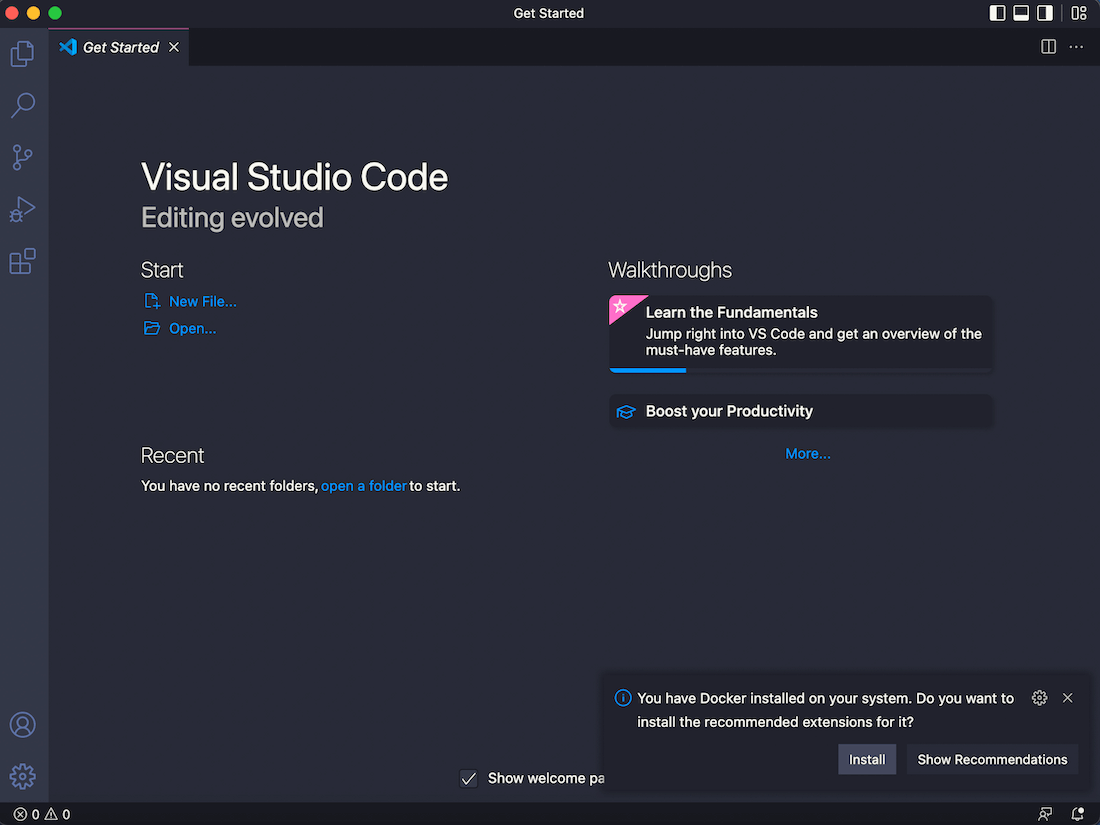
If you want to install everything at once, simply click the Install button. However, it’s likely that you’ll want to know what VS Code is adding to your workspace. Click the Show Recommendations button. This summons a list of Docker and Docker-adjacent extensions — while displaying Microsoft’s native “Remote – Containers” extension front and center:
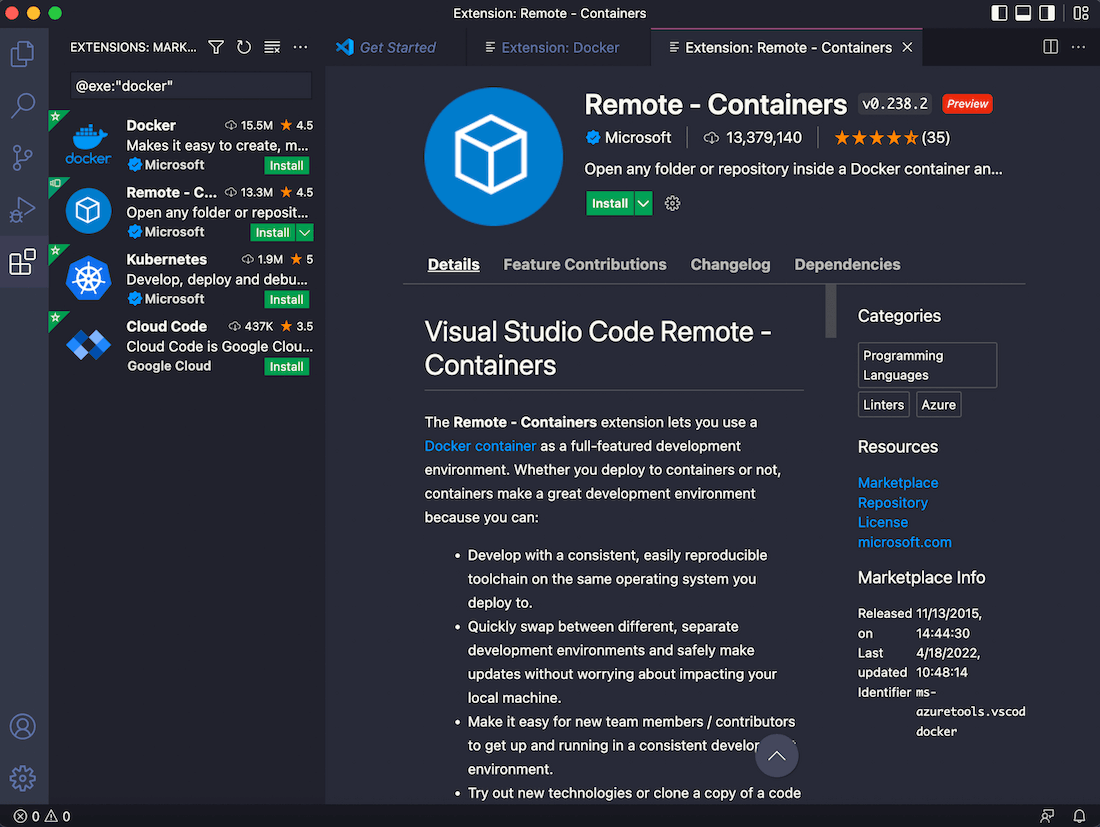
You can click any of these items in the sidebar and install them using the green Install button. Selecting the dropdown arrow attached to this button lets you install a release version or pre-release version depending on your preferences. Additionally, each extension may also install its own dependencies that let it work properly. You can click the Dependencies tab, if applicable, to view these sidekick programs.
However, you may have to manually open the Extensions pane if this prompt doesn’t appear. From the column of icons in the sidebar, click the Extensions icon that resembles a window pane, search for “Docker” in the search bar.
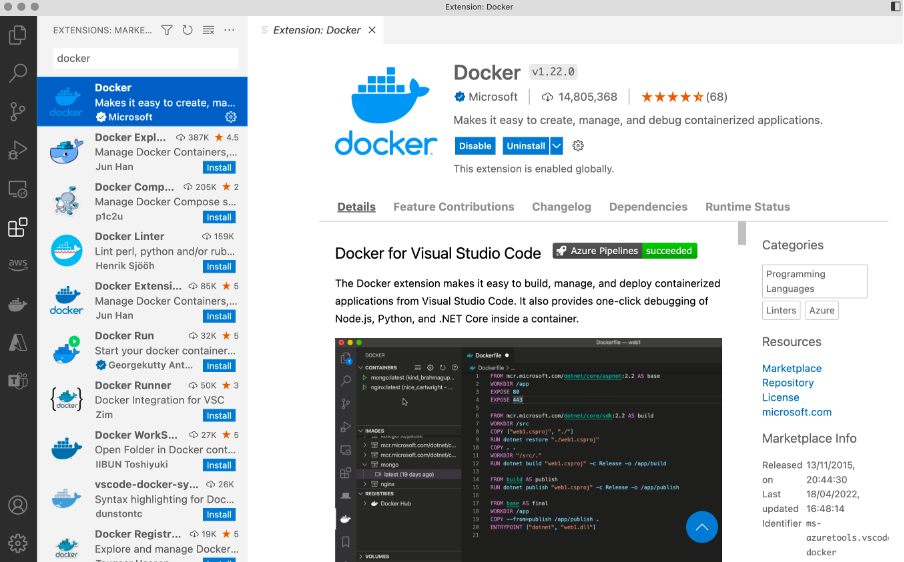
You’ll also see a wide variety of other Docker-related extensions, sorted by popularity and relevance. These are developed by community members and verified publishers.
Once your installation finishes, a “Getting Started with Docker” screen will greet you in the main window, letting you open a workspace Folder, run a container, and more:
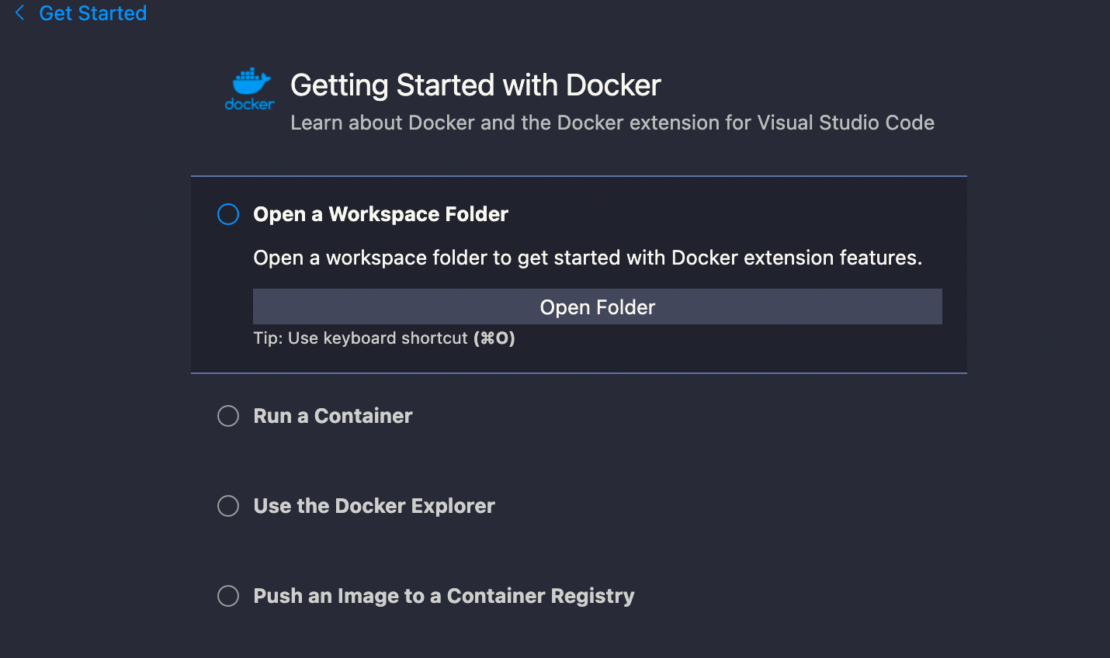
The Docker whale icon will also appear in the left-hand pane. Clicking it shows a view similar to that shown below:
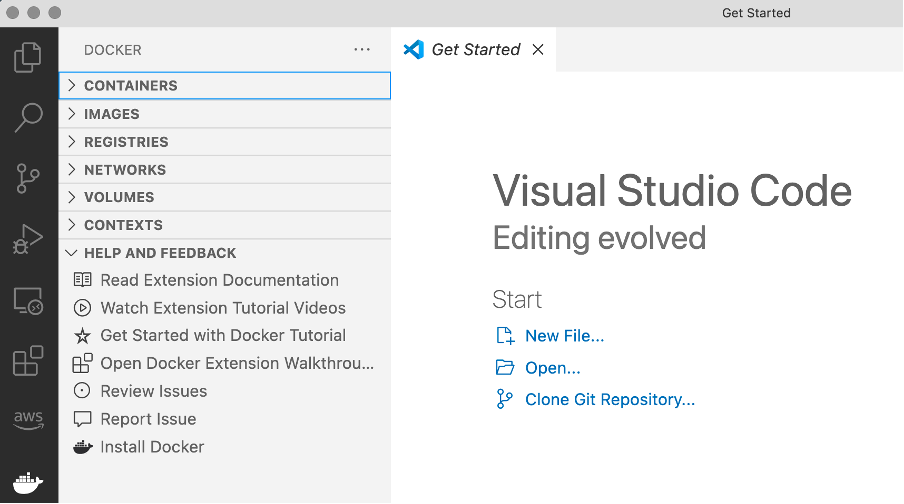
Each section expands to reveal more information. You can then check your running containers and images, stop or start them, connect to registries, plus inspect networks, volumes, and contexts.
Remember that ASP.NET image we pulled earlier? You can now expand the Images group and spin up a container using the ASP.NET Core image. Locate mcr.microsoft.com/dotnet/samples in the list, right click the aspnetapp tag, and choose “Run”:

You’ll then see your running container under the Containers group:

This method lets you easily preview container files right within VS Code.
Expand the Files group under the running container and select any file from the list. Our example below previews the site.css file from the app/wwwroot/css directory:

Finally, you may need to tag your local image before pushing it to the remote registry. You can do this by opening the Registries group and clicking “Connect Registry.”
VSCode will display a wizard that lets you choose your registry service — like Azure, Docker Hub, the Docker Registry, or GitLab. Let’s use Docker Hub by selecting it from the options list:

Now, Visual Studio will prompt you to enter credentials. Enter these to sign in. Once you’ve successfully logged in, your registry will appear within the group:

After connecting to Hub, you can tag local images using your remote repository name. For example:
YOUR_REPOSITORY_NAME/samples:aspnetapp
To do this, return to the Images group and right-click on the aspnetapp Docker image. Then, select the “Tag” option from the context menu. VS will display the wizard, where you can enter your desired tag.
Finally, right-click again on aspnetapp and select “Push” from the context menu:

This method is much faster than manually entering your code into the terminal.
However, this showcases just some of what you can achieve with the Docker extension for VS Code. For example, you can automatically generate Dockerfiles from within VS Code.
To create these, open the Command Palette (View > Command Palette…), and type “Docker” to view all available commands:
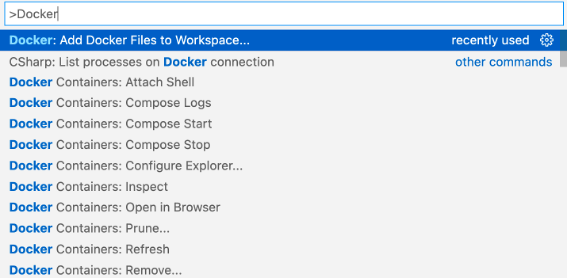
Next, click “Add Docker Files to Workspace…” You can now create your Dockerfiles from within VS Code.
Additionally, note the variety of Docker functions available from the Command Palette. The Docker extension integrates seamlessly with your development processes.
IntelliJ IDEA
In the IntelliJ IDEA Ultimate Edition, the Docker plugin is enabled by default. However, if you’re using the Community Edition, you’ll need to install the plugin manually.
You can either do this when the IDE starts (as shown below), or by clicking the Preferences window in the Plugins section.

Once you’ve installed the Docker plugin, you’ll need to connect it to Docker Desktop. Follow these steps:
- Navigate to IntelliJ IDEA > Preferences.
- Expand the Build, Execution, Deployment group. Click Docker, and then click the small “+” icon to the right.
- Choose the correct Docker daemon for your platform (for example, Docker for Mac).
The installation may take a few minutes. Once it’s complete, you’ll see the “Connection successful” message toward the middle-bottom of the Preferences pane:

Next, click “Apply” and then expand the Docker group from the left sidebar.
Select “Docker Registry” and add your preferred registry from there. Like our VS Code example, this demo also uses Docker Hub.
IntelliJ will prompt you to enter your credentials. You should again see the “Connection successful” message under the Test connection pane if you’re successful:

Now, click OK. Your Docker daemon and the Docker Registry connections will appear in the bottom portion of your IDE, in the Services pane:

This should closely resemble what happens within VS Code. Now, you can spin up another container!
To do this, click to expand the Images group. Locate your container image and select it to open the menu. Click the “Create Container” button from there.

This launches the “Create Docker Configuration” window, where you can configure port binding, entrypoints, command variables, and more.
You can otherwise interact with these options via the “Modify options” drop-down list — written in blue near the upper-right corner of the window:

After configuring your options, click “Run” to start the container. Now, the running container (test-container) will appear in the Services pane:

You can also inspect the running container just like you would in VS Code.
First, navigate back to the Dashboard tab. You’ll see additional buttons that let you quickly “Restart” or “Stop” the container:

Additionally, you can access the container command prompt by clicking “Terminal.” You’ll then use this CLI to inspect your container files.

Finally, you can now easily tag and push the image. Here’s how:
- Expand the Images group, and click on your image. You’ll see the Tags list in the right-hand panel.
- Click on “Add…” to create a new tag. This prompts the Tag image window to appear. Use this window to provide your repository name.
- Click “Tag” to view your new tag in the list.

Click on your tag. Then use the “Push Image” button to send your image to the remote registry.
Wrapping Up
By following this tutorial, you’ve learned how easy it is to perform common, crucial Docker tasks within your IDE. The process of managing containers and images is much smoother. Accordingly, you no longer need to juggle multiple windows or programs while getting things done. Docker Desktop’s functionality is baked seamlessly into VS Code and IntelliJ IDEA.
To enjoy streamlined workflows yourself, remember to download Docker Desktop and add Docker plugins and extensions to your favorite IDE.
Want to harness these Docker integrations? Read VS Code’s docs to learn how to use a Docker container as a fully-featured dev environment, or customize the official VS Code Docker extension. You can learn more about how Docker and IntelliJ team up here.
